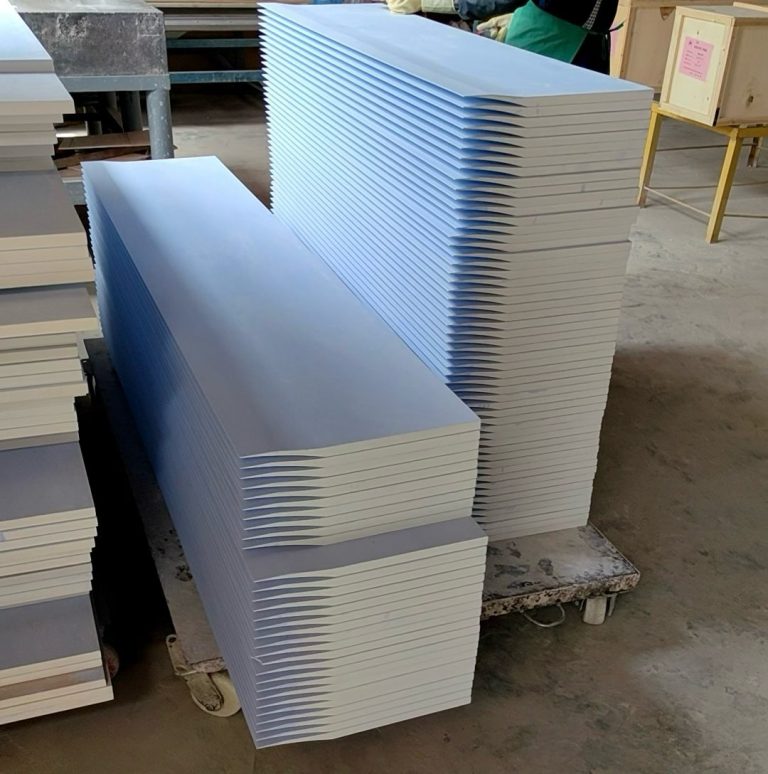
In the world of high-temperature industrial insulation, ceramic fiber modules are the gold standard for efficiency and durability. Whether you are lining a kiln, a forging furnace, or a petrochemical heater, the quality of the installation determines the lifespan of your lining and the energy efficiency of your operations.
This guide explores the essential steps, best practices, and professional tips for a seamless ceramic fiber module installation.
1. Pre-Installation Preparation
Before the first module is placed, the substrate must be prepared to ensure a secure bond and long-term stability.
- Surface Cleaning: Remove all rust, oil, and debris from the steel shell. A clean surface is critical for welding anchors.
- Layout Marking: Use a grid system to mark the exact locations for the anchors. Precision here prevents "gapping" between modules later.
- Anti-Corrosion Coating: Apply a high-temperature resistant mastic or paint to the steel shell to protect it from acidic gases that can bypass the insulation.
2. Choosing the Right Anchoring System
The anchor is the backbone of the module. Most installations use heat-resistant stainless steel (SS304 or SS310). Common anchoring methods include:
- Slide-on Anchors: Allow for slight adjustments during placement.
- Central Screwed Anchors: Offer maximum grip for high-vibration environments.
- Pre-welded Bolts: Ideal for rapid, high-volume installations.
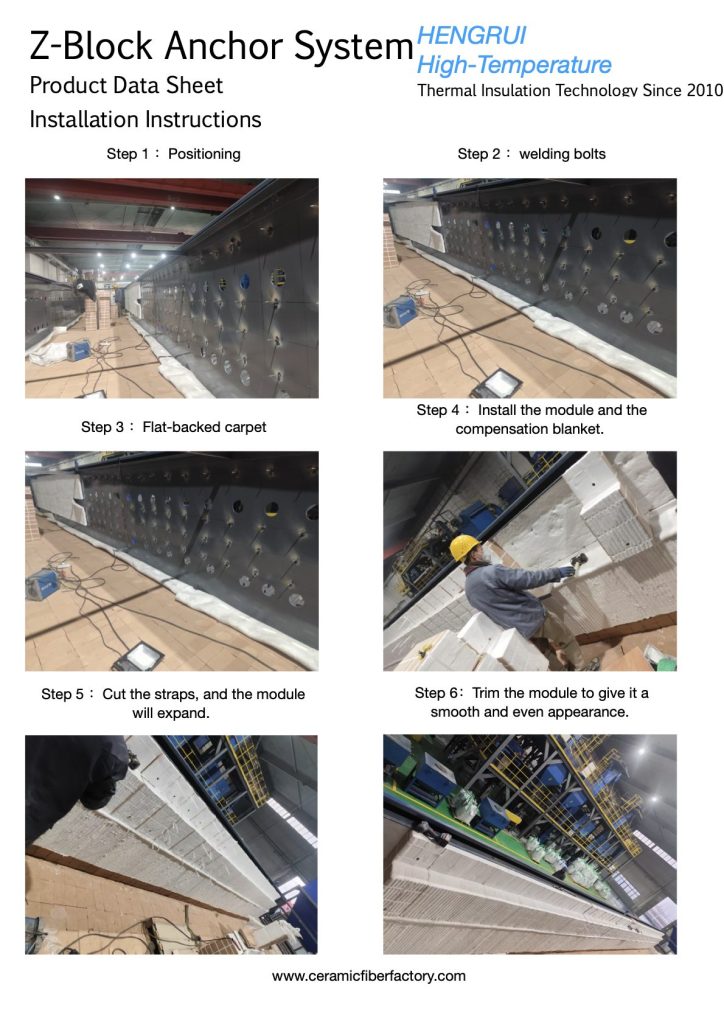
3. The Installation Process: Step-by-Step
To achieve a "seamless" finish, follow the "Soldier Course" or "Parquet" layout patterns, which help manage the natural shrinkage of fibers at high temperatures.
Step A: Welding the Anchors
Using a stud welding gun, fix the anchors according to your pre-marked grid. Ensure each weld is tested for strength; a single failed anchor can compromise an entire section of the roof.
Step B: Positioning the Modules
Align the internal channel of the ceramic fiber module with the anchor. Push the module firmly against the furnace shell.
Step C: Compression and Tightening
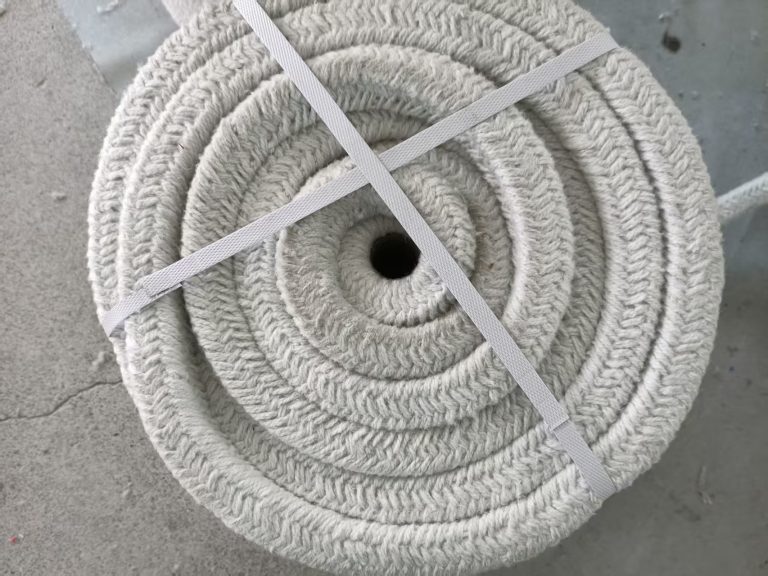
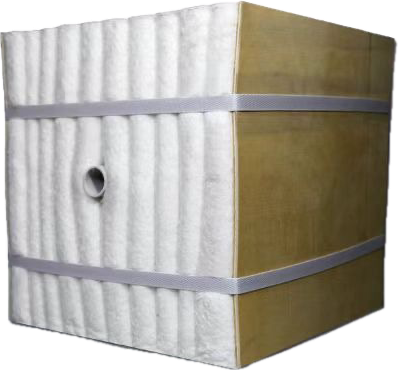
Ceramic fiber modules are manufactured under slight compression. Once the module is secured, the plastic straps or packaging materials are removed, allowing the fiber to expand and fill the voids between adjacent modules.
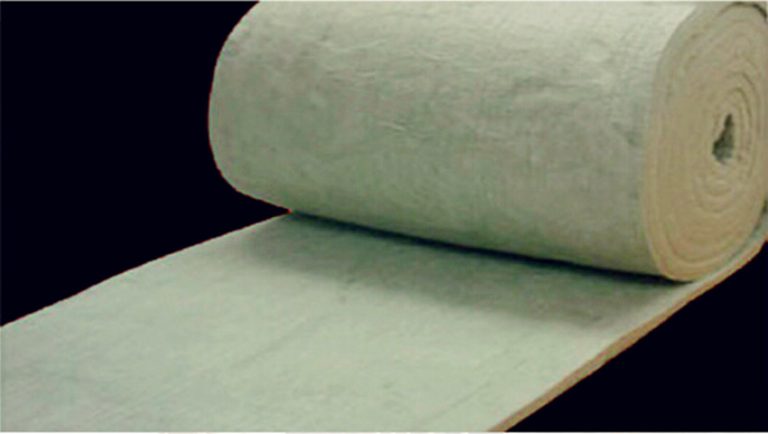
Step D: Compensation Strips
Always install folded compensation strips (also made of ceramic fiber) between rows. These strips act as a buffer, ensuring that when the modules shrink slightly during the first firing, no "heat bridges" form that could damage the steel shell.